
Popular Search
How To Paint A Room Like A Professional: A Step-by-Step Guide

Ready to dive into painting a room without the stress of messy mistakes or uneven results? In this guide, you'll discover all the core steps professional painters use to get smooth, long-lasting finishes every time. By the end, you'll be able to transform any room in your home with confidence, no prior experience needed.
How will this guide change your next painting project? Doing the job yourself can save you hundreds of dollars compared to hiring a professional, and you get full control over your space's final look. But it's important to follow the right order of steps to avoid common pitfalls that ruin most DIY paint jobs.
Why Learning to Paint a Room Like a Professional Is Worth Your Time
- Low entry barrier: You don't need expensive specialized tools or years of training to get great results. Most basic supplies are available at local home improvement stores for less than $100 total, making this an accessible project for almost anyone.
- Creative control over your space: You can pick exactly the shade, finish, and accent details that match your personal style, rather than settling for what a contractor offers. This lets you turn any room into a space that feels truly unique to you.
- Cost savings on home projects: Hiring a professional painter can cost $2 to $6 per square foot, which adds up quickly for even small rooms. Doing the work yourself lets you allocate that budget to higher-quality paint or other home upgrades.
- Transferable home improvement skill: Once you master basic room painting, you can apply those same techniques to furniture, accent walls, trim, and other small home projects down the line. This skill can add value to your home if you plan to sell in the future.
Step-by-Step Guide to Painting a Room Like a Professional
Step 1: Plan your project and gather supplies
First, decide on your paint color and finish, then calculate how much paint you need (one gallon covers roughly 400 square feet of wall space). Pick up basic supplies including painter's tape, drop cloths, a paint roller, angled brush, paint tray, and sanding block. You'll also want a small putty knife to fill any holes or cracks in the walls.
Pro tip: Pick up a sample size of your chosen paint first and test it on a small section of the wall to see how it looks in different lighting throughout the day.
Step 2: Prep the room and surfaces
Remove all furniture from the room if possible, or move it to the center and cover it completely with plastic drop cloths. Take down light switch covers, outlet plates, and any wall decor, then wipe down all walls with a damp cloth to remove dust and grime. Fill small holes with spackle, let it dry, then sand the area smooth so it blends with the rest of the wall.
Common mistake to avoid: Skipping wall cleaning will make it harder for paint to adhere properly, leading to peeling or chipping within a few months.
Step 3: Tape off edges and lay protection
Apply painter's tape along the edges of trim, ceilings, windows, and door frames to create clean, sharp lines. Press the tape down firmly with a putty knife or your fingernail to make sure paint can't seep underneath. Lay canvas drop cloths over the entire floor, as they are more slip-resistant and absorbent than plastic options.
Pro tip: Remove the painter's tape while the final coat of paint is still slightly wet to avoid peeling off dried paint along with the tape.
Step 4: Cut in the edges with an angled brush
Load your angled brush with a small amount of paint, then tap off excess to avoid drips. Paint a 2-3 inch wide strip along all taped edges, corners, and areas too tight for a roller to reach. Work in small sections to keep the wet edge consistent, so you don't end up with visible lap marks later.
Common mistake to avoid: Overloading your brush with paint will lead to drips and uneven coverage along the edges.
Step 5: Roll the main wall surfaces
Pour paint into your tray, then load your roller evenly, rolling off excess on the textured part of the tray. Apply paint to the walls in W-shaped patterns, then roll over the area in smooth, vertical strokes to spread the paint evenly. Work in 3x3 foot sections at a time, making sure each section overlaps slightly with the last while the paint is still wet.
Pro tip: Use a medium-nap roller (3/8 inch) for most smooth or slightly textured walls, and a thicker nap for heavily textured surfaces.
Step 6: Apply a second coat and finish up
Let the first coat dry completely (check the paint can for exact timing, usually 2-4 hours for latex paint), then repeat the cut-in and rolling process for the second coat. Once the second coat is applied, carefully remove the painter's tape, then replace outlet covers, light switch plates, and wall decor once the paint is fully cured.
Common mistake to avoid: Putting furniture back too soon can scratch or smudge fresh paint, so wait at least 24 hours before moving items back into the room.
Challenges to Be Aware Of
- Time and physical effort: A standard room takes 6-8 hours of total work from prep to final coat, which includes a lot of bending, reaching, and standing. To avoid fatigue, split the project over two days, doing prep work one day and painting the next.
- Paint consistency issues: If you don't mix your paint thoroughly before use, you may end up with slight color variations between coats or different sections of the wall. Stir the paint for at least 1 minute before pouring it into your tray, and stir again every 30 minutes as you work.
- Uneven coverage on textured walls: Heavily textured walls hold more paint and can leave thin spots if you don't apply enough pressure with your roller. Roll slowly over textured areas, and be prepared to use a bit more paint than you would on a smooth wall.
Conclusion
You now have the foundation to start painting any room in your home like a professional, even if you have never picked up a paint roller before. Each step is designed to minimize mistakes and help you get a polished, store-bought finish you can be proud of.
Learning to paint a room like a professional offers a low-cost way to refresh your home whenever you want, and by mastering this skill, you're positioning yourself to take on more fun DIY home projects in the future. You also get the satisfaction of creating a space that is entirely your own.
Don't wait for the perfect moment. Start planning your first painting project today, starting with a small room like a bathroom or home office to practice. The more you practice, the faster and more confident you will get with each project.
FAQ
How long does it take to paint a standard 12x12 room?
A 12x12 room takes roughly 6-8 total hours of work, including prep, two coats of paint, and cleanup. The exact timeline depends on how much prep work your walls need and how quickly the paint dries between coats. Start with a small room first to get comfortable with the process before moving to larger spaces.
Do I need special tools to paint a room like a professional?
You don't need professional-grade tools for most DIY painting projects. Basic affordable supplies from a local home improvement store will work perfectly for standard rooms. You can invest in higher-quality rollers and brushes later if you plan to do more painting projects. Start with basic supplies to keep your initial cost low.
What's the best way to fix small paint drips or mistakes?
If you catch a drip while the paint is still wet, gently wipe it away with a damp cloth and re-roll the area to smooth it out. If the paint has already dried, lightly sand the spot with fine-grit sandpaper, wipe away dust, then touch it up with a small amount of paint. Check your walls for drips after each coat while the paint is still wet to make fixes easier.
Can I use the same paint for walls, trim, and ceilings?
You can technically use the same paint, but different surfaces work best with specific paint finishes. Flat or matte finishes work well for ceilings, satin or eggshell for walls, and semi-gloss for trim, which is easier to wipe clean. Using the right finish for each surface will make your final result look more polished and last longer. Ask a store associate for help picking the right finish for each part of your room.


RECOMMEND ARTICLES


How To Read Nutrition Labels To Identify Hidden Sugars: A Practical Guide For Everyone

How To Drink More Water Daily: 7 Simple Habits That Actually Work
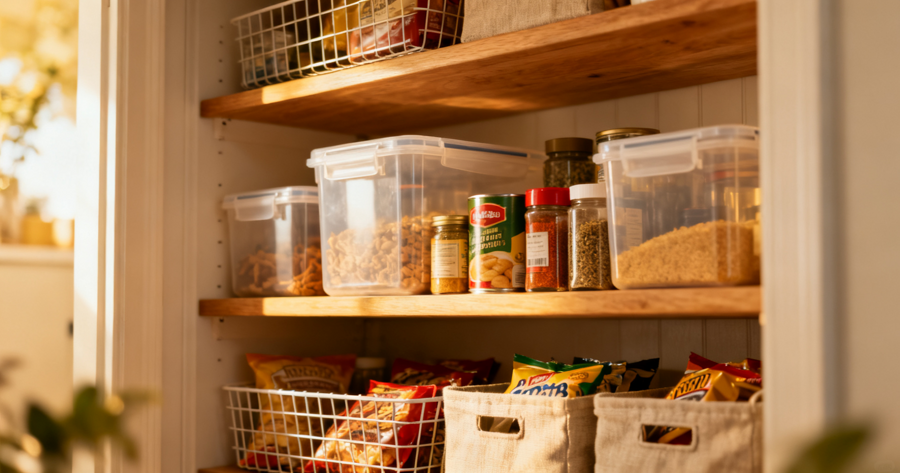
How To Organize A Small Pantry On A Tight Budget: A Practical Step-by-Step Guide
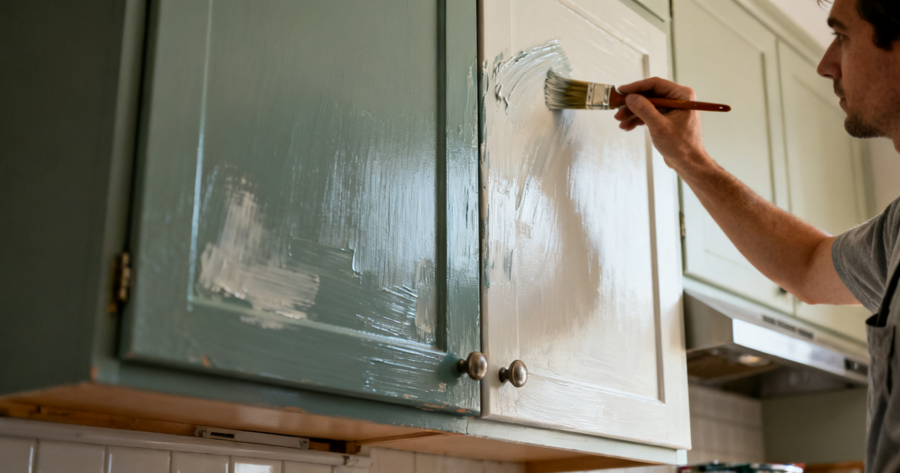
How To Paint Kitchen Cabinets For A Professional, Long-Lasting Finish

How To Start A Running Habit When You Hate Running: Practical Guide For Beginners
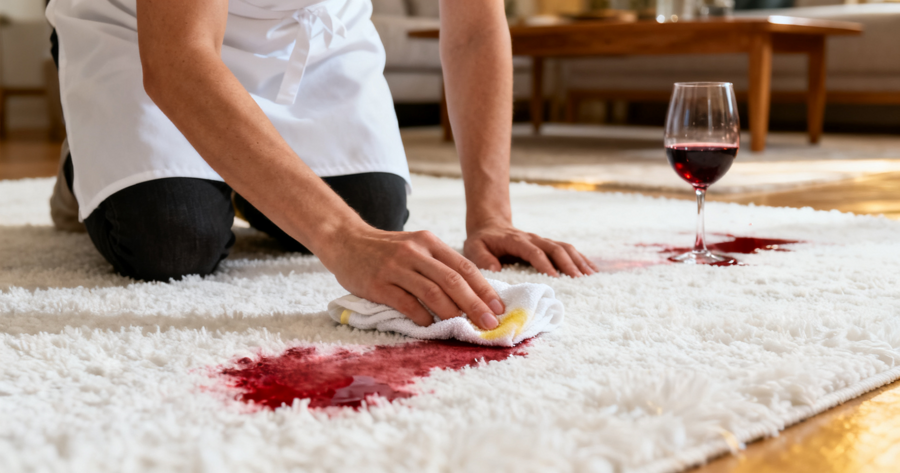
How To Remove Red Wine Stains From White Carpet Naturally

How To Identify And Treat Common Pests In Your Vegetable Garden

How To Revive A Dying Houseplant: 5 Essential Steps For New Plant Owners
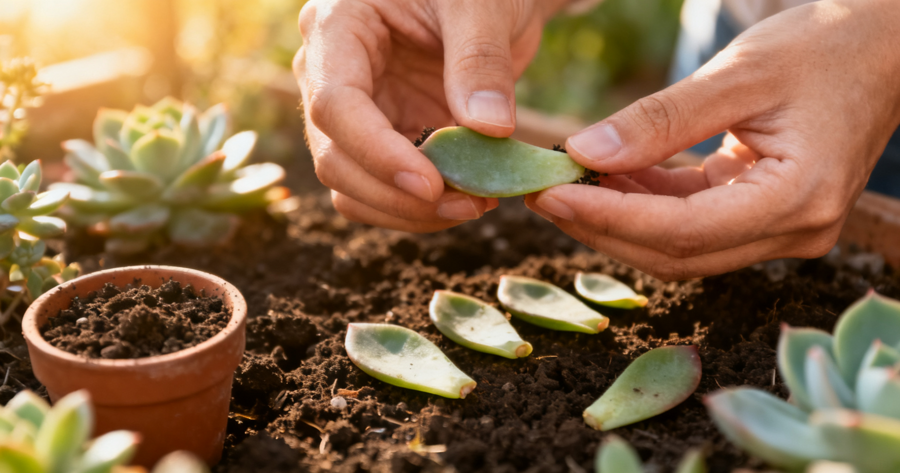
How To Propagate Succulents From Leaves: A Beginner’s Guide
How To Remove Hard Water Stains From Glass Shower Doors: A Simple, No-Harsh-Chemicals Guide
Most Read

How To Fall Asleep Quickly?

How To Improve Your Brookhaven RP Experience In 5 Minutes

How To Install Poppy Playtime Mods: A Step-by-Step Guide For Players

Managing High Cholesterol And High Blood Pressure: A Complete Guide

10 Tricks To Make Sure Clothes Will Fit Us Without Trying Them On!

10 Unexplained Body Signs Your Long-Distance Lover Is Thinking Of You!
Subscribe For New Quizzes
About us | Privacy Policy | Data Removal | Feedback
Copyright © 2019-2026 | All rights reserved.